
Tiles make a great alternative wall art when you’re looking for something a little different to spruce up your walls. You can very quickly transform a small or even a larger tile into a piece of art that fits your personality. Here are some examples of a set of small vintage tiles I decorated for my office wall.
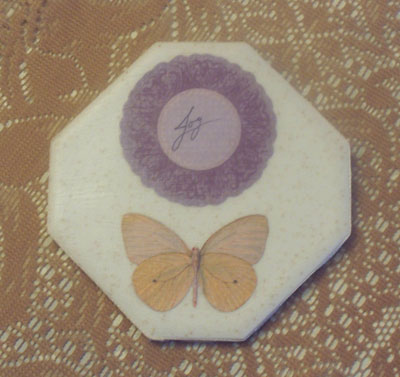
Joy Decoupage Vintage Tile
I wanted a positive message theme that I would see every time I left my home office. I work at home, so this is just one small way I can bring an uplifting message to my work space when I’m feeling a bit drained of energy.
Decoupage was the technique used on these tiles which is basically gluing paper to a surface and covering it with a sealant.
I found these images in the scrapbooking section of my local craft store. The words are handwritten by me. I found the tiles at a reuse-recycle center but you can use brand new tiles that can be easily found at big-box home improvement stores and some smaller hardware stores.
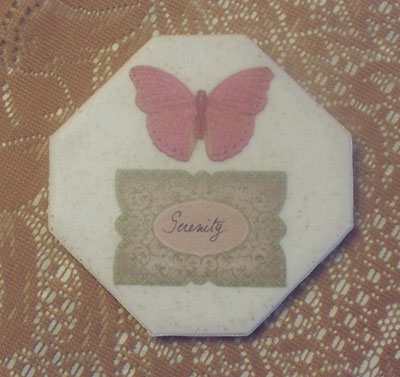
Serenity Decoupage Vintage Tile
Here’s a rundown of the materials and process.
Materials used:
- Three vintage tiles
- Scrap images
- Sponge brushes
- Mod Podge glue, matte finish
- Mod Podge spray sealant, matte finish
- Tacky glue
- Ribbon scraps, enough to go around the edge of each tile
- Ecru acrylic craft paint (optional, explained below)
- Picture hangers
- Epoxy
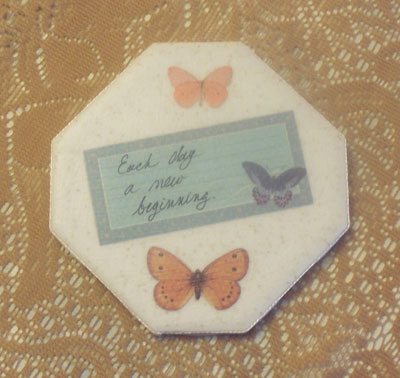
Each Day a New Beginning Vintage Decoupage Tile
Instructions:
- Clean tiles with warm water and small amount of soap and dry.
- Arrange scrap images as desired and glue Mod Podge with a sponge brush in place. Let dry.
- Coat with 1-2 coats of Mod Podge glue and let dry between each coat. Skip this if you prefer and just use the spray sealant or just use the glue. The reason I use both is I like the look of the Mod Podge strokes on the finished piece but it’s a bit too tacky to the touch to leave as is, so I use a coat or two of spray sealant which helps that problem.
- Glue ribbon around edges with tacky glue (or any PVC glue) if that’s the look you’re going for. Other options are to collage the entire piece and have the paper go over the edges, paint the edges or leave them as is.
- Because my tiles were vintage, the backs were pretty scuffed, so I painted the backs with acrylic paint to make them look a little cleaner. You may not be concerned about this unless you plan on selling these at craft fairs.
- Attach the metal picture hanger with epoxy. I went a little overboard as you can see because I’ve had a hard time in the past with gluing metal. I would lighten up a bit next time on the epoxy but the hangers are definitely stuck in place. I used small nails to hang these on and they work perfectly.
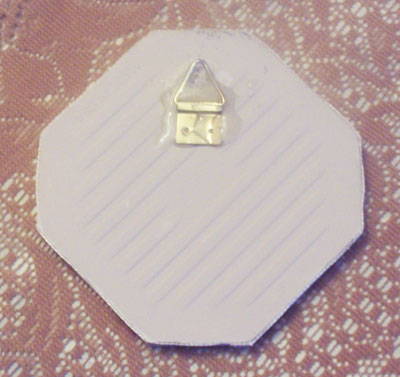
Back of Tile with Metal Hanger
There are so many techniques you can use to create tile art including painting, drawing, and image transfers which all create beautiful results. But decoupage is one of my favorites. It’s a quick and easy way to indulge your creative side and has the added benefit of frugally decorating your home.

Pingback: Create Your Own Wall Art With Decoupage and Tiles | PubWages | | decoupagedecoupage
These are absolutely beautiful. And your handwriting is like calligraphy!
Thanks so much for the compliments. These were fun to do. Learning calligraphy is one of those things I have in the back of my creative mind but haven’t gotten around to yet.