
For the gardener with little space, growing potatoes in containers can be just the ticket to having your potatoes and eating them too so to speak!
It costs relatively little to grow potatoes and you can grow them several different ways.
GROWING POTATOES IN CONTAINERS
Besides growing them in a 30+ gallon trash can, you can grow them these other ways:
- In trash bags or potato bags

- In any 30 gallon or larger containers such as drums or giant tree containers
- Barrels or wooden boxes
- Raised beds (about 3 x 5 will do)
- Hills
- Old tires
- Smaller containers or bins – just add less potatoes
HOW TO GROW POTATOES IN A TRASH BIN
What you need:
- Package or pound of seed potatoes cured (though some folks use store-bought potatoes). Curing: If large potatoes, cut potatoes so that only 2-3 “eyes” remain per piece. Let sit out for at least 24 hours at room temperature
- Trash can – metal or plastic will do – with a lid or makeshift cover
- Shredded paper or crushed/torn newspaper (optional)
- Good potting soil, preferably for vegetables
- Time release fertilizer
- Sterile manure if desired
- Compost if desired
- Dolly for bottom of trash can (optional)
Planting potatoes in a trash can:
- Drill holes in the bottom of your trash can and around the sides of the can, about 3-6 inches from the bottom every few inches – promotes drainage.
- Put a layer of crumpled newspaper or shredded paper in the bottom of the trash can if desired. This prevents the soil from draining out through the drainage holes. (Some people plant all their potatoes in straw or shredded paper in the can but I prefer using soil)
- In a wheelbarrow, mix up a combination of potting soil, sterile manure and compost (add in 1/4 cup of manure and compost to 1 cup of potting soil). Add in some time release fertilizer pellets such as Osmocote. (Or fertilize later as you water the plants)
- Keep extra soil mix on hand as you will add to the can as the potatoes sprout up and start to grow.
- Add about 10 inches of the potting soil mix to the bottom of the trashcan atop the shredded paper.
- Plant seed potatoes about 5 inches apart and about 4 inches deep. They need to be underneath the soil to start sending out vines below the surface. The plants will grow up towards the light while the tubers grow below the soil.
- Water slightly but never make the soil soggy throughout your growing season.
- Potatoes like the soil to stay “about” 60 degrees though we have had much colder temperatures at night and they seem to survive. A rolling pad under the trash can makes it easy to bring new plantings inside the garage if cold weather prevails. If heavy rain, be sure and clamp on the lid to avoid saturating the soil.
- Keep the potato soil moist and wait for plant shoots to appear. Take lid off during sunlight hours and soon the plants will break through the soil. Potatoes like at least about 6 hours of sunlight per day.
- Once plants break the surface and are about 6-8 inches tall, add another layer of soil mixture. Mound it around the plants so that leaves are still above the soil.
- Continue this process of adding soil mixture until your potatoes plants are above the trash can, lush and healthy. You can also add plain compost if desired as you fill the can. Continue the same watering practices and sunlight requirements.
- Should gnats or other insects attack potato leaves, spray with a citrus spray or a natural oily herbicide you can find at any hardware store. Avoid overspraying or spraying in temperatures above 85 degrees.
HARVESTING YOUR POTATOES
Potatoes will be ready for harvesting in 4-6 weeks depending on the variety and the weather conditions.
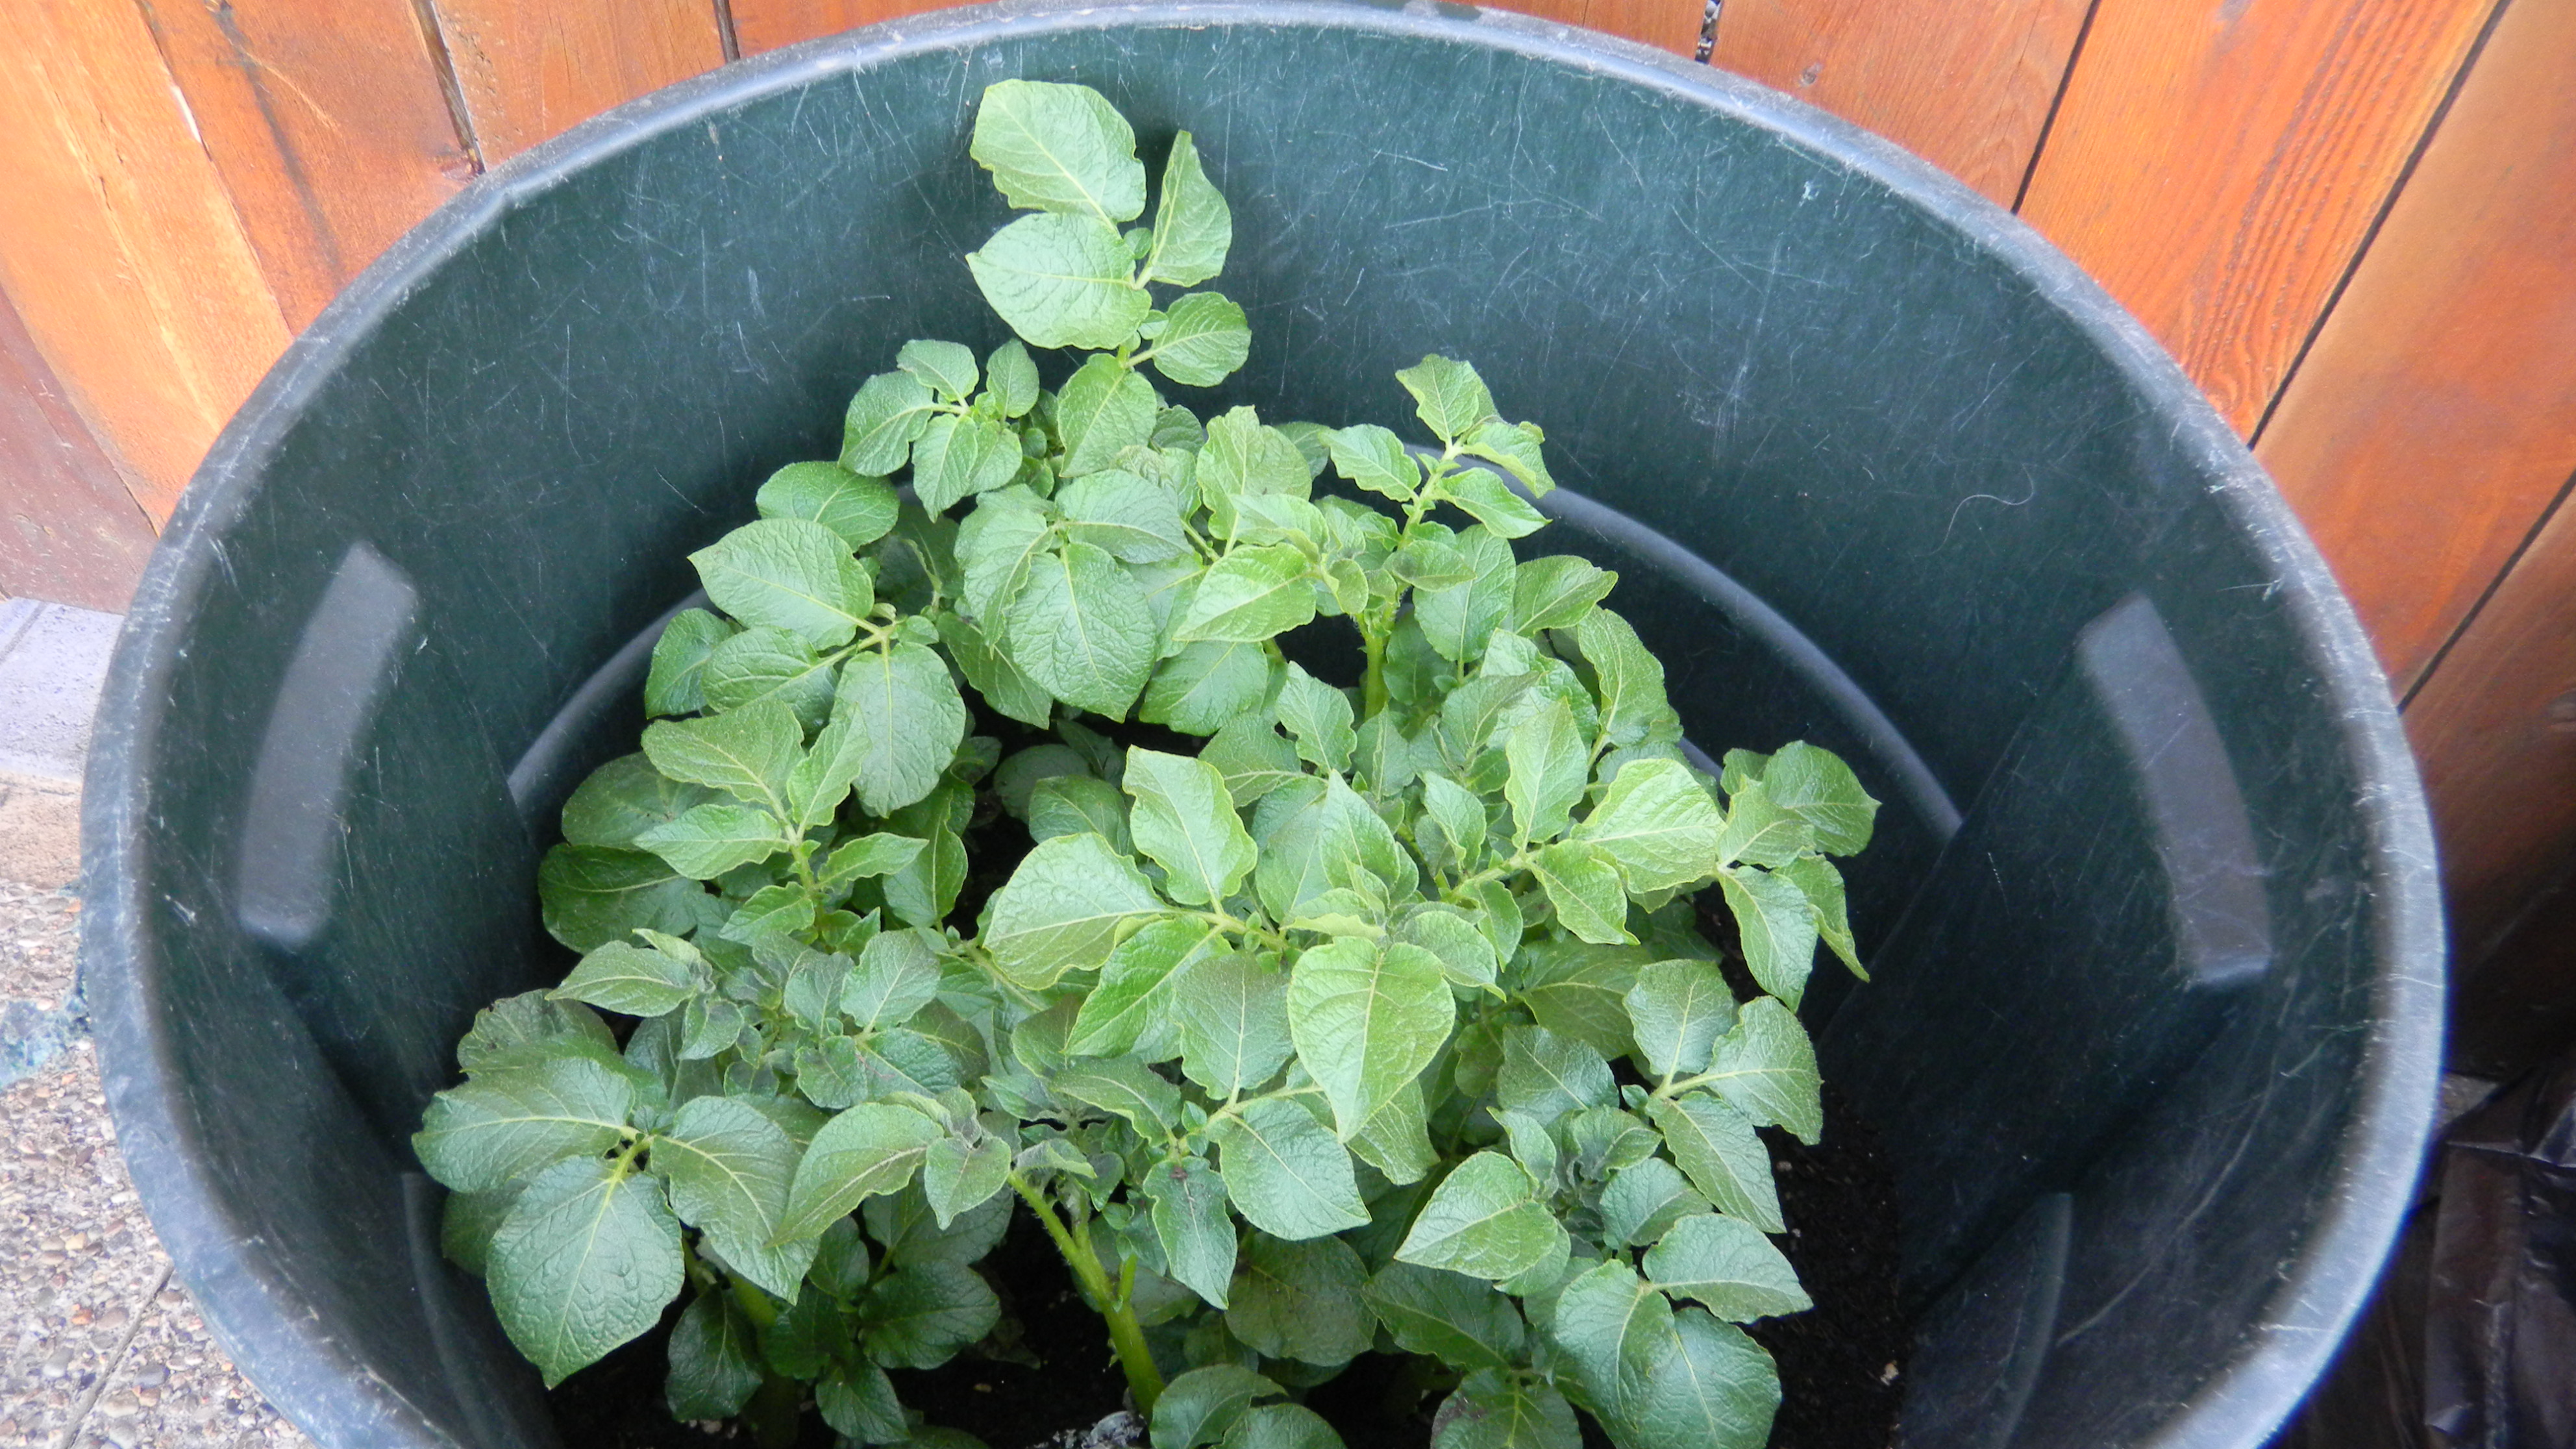
The plants start out as shoots, then progress to lovely green, leafy plants that grow higher and higher as you add more soil.
Towards the end of the growing season, the plants will develop berries and flowers and then the entire plant will wither and die off, turn brown and droopy. Once the plant growth dies off, it’s harvest time for potatoes!
How to harvest your potatoes? Simply lay out a tarp and turn out the trash can potatoes onto the tarp. Brush off potatoes (do not wash until ready to use) and store in a dark, cool place.
If done correctly, with the above ingredients, you should have a trash can full of potatoes.
For new potatoes, close to the end of the growing season, reach just below the soil and hand pick out potatoes just beneath the surface. Leave the others to finish growing.
Plant many varieties such as blue or red potatoes and see which ones give you the best yield or the best flavors.
This is a super easy way to grow potatoes and requires little to no space.
For more on growing potatoes in containers, read this article on Hubpages.com.
To learn more about growing potatoes in a trash bag, see this article on Pubwages.com.

Pingback: Growing Potatoes In Old Tires | One Page Articles